Interacting with the deployed contract
In this section, we will interact with the deployed contract using ethers.js.
Code
Import dependencies
First, we need to import the dependencies we need to interact with the contract.
import { ethers } from "ethers";
Connect to the network
const provider = new ethers.providers.Web3Provider(window.ethereum);
await provider.send("eth_requestAccounts", []);
const signer = await provider.getSigner();
Download ABI
The ABI is the interface to interact with the contract. It is a JSON object that contains the functions and events of the contract. We can download the ABI from this url.
const response = await fetch(
  "https://etherdata-blockchain.github.io/msbd5017-docs/docs/05-Chapter5/files/MyNFT.json"
);
const jsonData = await response.json();
const abi = jsonData.abi;
Create the contract instance
const contractAddress = "0x9ab29c1cc907448Bc081668A09Bfd77338B4D037";
const contract = new ethers.Contract(contractAddress, abi, signer);
Mint a new NFT
Recall that we defined a function called awardItem in the contract in the previous secion.
const tx = await contract.awardItem(
  signer.getAddress(),
  "https://files.etdchain.net/mynft.png"
);
await tx.wait();
Check balance
const balance = await contract.balanceOf(await signer.getAddress());
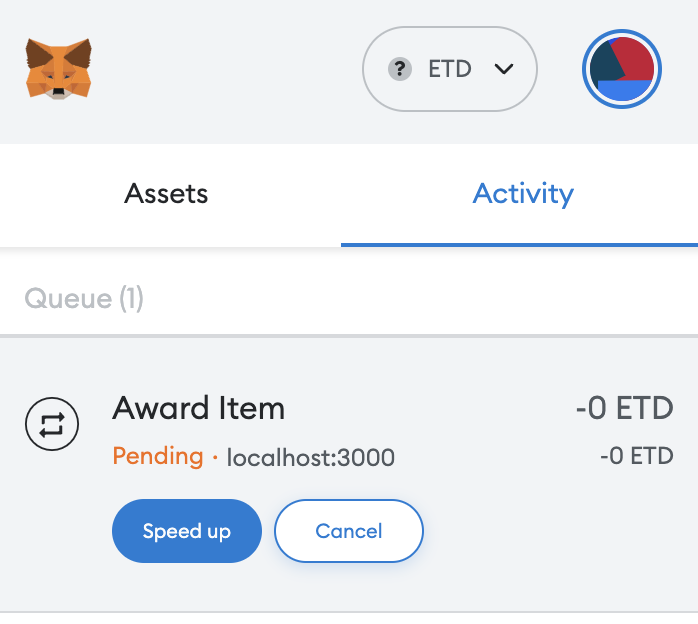
See transaction in MetaMask
After calling the awardItem function, we can see the transaction in MetaMask.

Interactive demo
danger
Transaction may take up to 1 min to be mined.
Live Editor
Result
Loading...